Is My Handheld XRF Analyzer Working Correctly?
Understanding what’s happening when you take an assay:
The use of Handheld XRF continues to grow in a variety of industries that require rapid non-destructive identification of materials at an elemental level. But in the field, handheld analyzers are tools meant to be used and used hard. Mining and scrap require the user to go beyond the relatively clean indoor environments. Handheld devices can get smudged, banged around, and even broken. So how do you know that your instrument is still properly calibrated?
To get a clear picture of what could cause poor results when taking an assay, you should first understand what is going on. Our material world is made up of atoms, each with protons and electrons. When you pull the trigger on your XRF device, it fires X-rays at the sample, which kick those electrons closest to the center of the atom out of place. This releases energy, which is read by the instrument’s detector. Every atom has a unique energy signature. The software in your analyzer will read the signature and identify what elements are in any given sample. It’s important to remember, though, that the X-rays from the analyzer are fairly weak and only penetrate the surface of metals and only about ¾ of an inch of soil depending on the density of the sample.
You should also note that handheld devices are not mass produced. They require hours of factory calibration to ensure proper performance. X-ray tubes and detectors have a limited shelf life, just like a light bulb.
X-ray tubes
Each X-ray tube will vary in output within a range. Because it is the power of the X-ray that causes the atom to fluoresce (giving the element its signature), each tube will give a slightly different result. Because of this, your instrument was individually calibrated at the factory to take into account the small variations. Over time, tubes may have a change in output, which may affect your results. Like a light bulb, the tube will eventually burn out, causing a failure in the instrument to generate X-rays.
Detectors
A detector is essentially a highly sensitive surface that “lights up” as photons strike it, but over time, its sensitivity fades. As this occurs, the accuracy of the detector may decrease. Like X-ray tubes, detectors may also fail.
Sample uniformity
It’s almost impossible to get a uniform sample in nature (which is why a reference standard or sample was shipped to you with your instrument). Don’t lose or damage that sample! It’s the easiest, cheapest way to determine if your instrument is properly calibrated. Remember also that even in a uniform sample, a series of analyses will vary from one to the next, but the overall accuracy will be within an acceptable range. Rule of thumb for the Alloys application is that as long as the analyzer identifies the correct sample (2205, for example), then the instrument is likely calibrated. For other applications (like mining) you will need to check the actual elemental results.
Using your reference standard
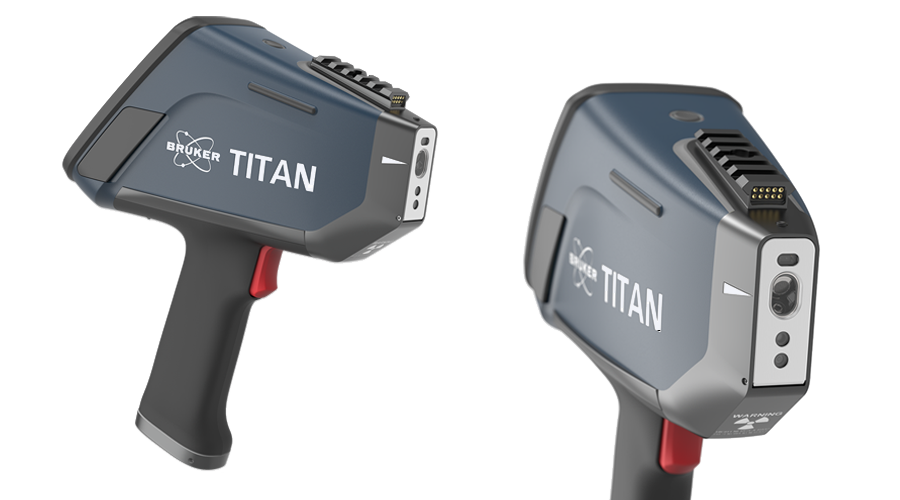
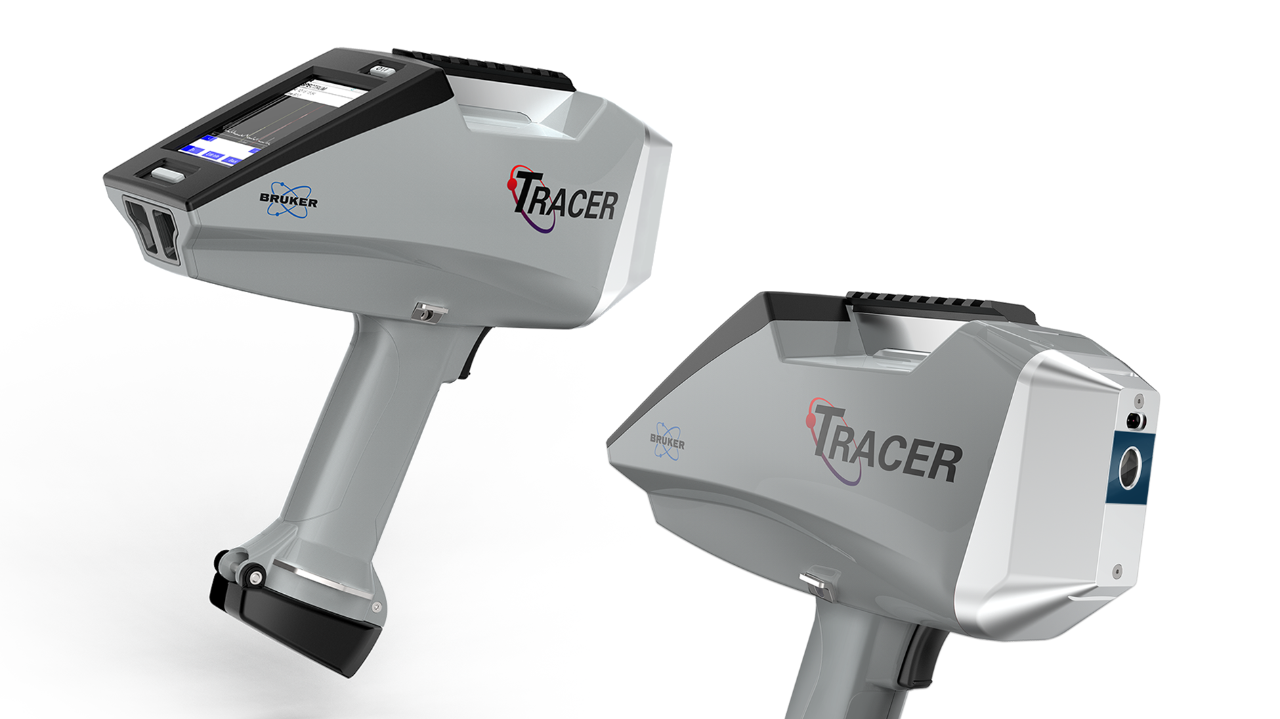
When you first opened your new Bruker Handheld instrument case, you probably unpacked the analyzer, slid the battery into place, and closed the case. But in that case exists one or more important pieces of equipment: your reference sample(s). Usually, you receive a piece of Stainless steel (2205), but other samples may have been included, depending on how you were intending to use the device and any special calibrations you requested to be put on your instrument. Regardless of sample type, these samples are intended to help you test your instrument to ensure you’re getting the optimum reading.
Most of the calibration samples come as a thin metal disk, although for mining applications you may have received a cup of soil, or even plastic. No matter the sample type, your instrument was calibrated at the factory using those specific standards/samples. When you think your analyzer is giving you a bad reading, you can test it by taking an analysis of the supplied sample and taking ten or more assays of it. Move the aperture on the nose around the sample, shooting both sides and various areas to ensure sufficient representation of the sample. If the average elemental results fall within each Min\Max range, you know that the device is working properly.
Trouble shooting
But what if the assays don’t correctly identify the reference material? Don’t panic. It could be simply that the sample is dirty. Remember that the X-rays are relatively weak and only penetrate the surface of a metal? Even the oils from fingers can change the assay by blocking or distorting the element’s signature. The first thing to do is clean your sample with isopropyl alcohol (do not use harsh household cleaners as they may damage the surface of the sample and leave a residue). Once clean, try taking your test assays again. If you get good results, store the sample in a clean environment.
If you’re still not getting a good result, turn off the analyzer and inspect the nose of the instrument. Make sure the thin window is intact and hasn’t been smudged or damaged. If the window is torn, punctured, or dirty, refer to your user manual for how to swap it out for a new one (several were shipped in the case with your instrument). Once the window is replaced, try the test again.
If you’re using a mining sample (soil or powder in a cup), it’s important to understand that even though the material has been finely ground, it can never be completely uniform. Soil samples will have a greater variance from one reading to the next due to grain size within the cup. Also, each grain has multiple sides that cause the X-rays to go off in various directions. Because the sample is inherently NOT uniform, each reading will have slight variations. To get the best result, each assay should be taken from a different position to get an average sample reading.
Humidity and elevation can also adversely affect your instrument’s accuracy. Even if you place the nose of the analyzer directly against a sample, there is a small distance between it and the working pieces (X-ray tube and detector). Higher humidity causes the atmosphere to become denser, and so the electrons must travel through more and heavier material, weakening the X-ray beam and blocking the discharged photons from reaching the detector. Elevation can work in the opposite fashion. In each case, since your analyzer has been factory calibrated, there may be slight variations during actual use in the field.
What about your samples? Can the samples themselves be causing errors in your readings? This could be an issue depending on the quality of your sample. Let’s look at soil samples and alloy samples to minimize uncertainty that your samples are causing your suspected errors:
Soil Samples:
There are 3 basic ways to analyze soil samples.
- In-situ
- Semi-prepared
- Fully prepared
In-situ:
When taking samples in-situ the only real concern would be to make certain you are not analyzing moist soil. Moisture can affect your XRF readings. If there is more than twenty percent moisture in your sample, it will have an adverse effect on your reading. You should choose to either dry all of your samples, or take a series of wet samples (10 or so), analyze them while they are wet, then dry them and analyze them again. You can create a fudge factor for moist samples based on the difference. This should be done for each site if you choose this route and the level of moisture in the wet samples need to be consistent in order to obtain quality data.
Semi-prepared:
This can refer to any number of steps taken to make your sample more homogeneous-whether you sieve the sample through a 60 mesh sieve and analyze it in a plastic bag or simply put soil in a plastic bag and remove all the sticks, rocks, and big chunks out of it before analyzing it. The most important concern with this type of sampling is to make certain you have enough soil to obtain accurate results. In order for XRF results to be accurate, you need to have at least ¾ of an inch thickness of sample when analyzing through a plastic bag. This is due to the fact that handheld XRF analyzers are calibrated to infinite thickness. Also, be sure to use the cheaper plastic bags, or at least not the freezer bags which are thicker and can attenuate x-Rays returning to the detector.
Fully prepared:
Analyzing fully prepared samples typically refers to the process of pushing the soil through a set of sieves to get the particle size of the soil to be as homogeneous as possible then loading the soil into an XRF cup for analysis. With this technique you still need to be concerned about having the appropriate amount of sample in your XRF cup due to the infinite thickness calibration. Another area of concern that can affect your data outcome is the type of X-ray film you use for your XRF cup. There are 2 basic types of X-ray film used: mylar and polypropylene. If you are trying to analyze lighter elements such as Sulpher (S) and Phosphorous (P), you want to make certain you use the polypropylene X-ray film so as not to attenuate those returning X-rays on their way to the detector.
Alloy Samples:
With alloy samples, you want to make certain that any corrosion or debris has been removed (at least an area large enough for the entire aperture of the window of the XRF can be exposed to the area of clean sample). You may be able to use a rag to clean off samples that are merely greasy but if you have built up corrosion, you will need to either sand it off with diamond paper or use a rotary tool of some sort. Even with a rotary tool you need to be sure to know what the wire brush is made out of. If some of the brush ends up in your sample, you could end up identifying the wrong alloy. Be sure to clean the sample off after grinding or sanding it. This is also true of sandpaper and abrasive disks- the abrasive material can be forced into the surface of the sample and alter your reading. Make sure that the abrasive material does not contain some element, such as silicon (Si), that could give you misleading readings.
Still not getting a good reading? Make sure you’ve set your instrument to the correct assay type. If you are using the Stainless 2205 sample for your test, but you’ve set the instrument to analyze mining samples, you’ll get poor results. Check your user guide to ensure you’re using the optimum settings.
If you still are not getting accurate results, it’s time to call the Bruker help line: 509-783-9850. The Bruker support team will be able to answer your questions and walk you through expert troubleshooting and resolution of your issue.