Languages

NANOMECHANICAL TESTING JOURNAL CLUB

Direct Determination of the Area Function for Nanoindentation Experiments

Christian Saringer, Michael Tkadletz, Markus Kratzer, and Megan J. Cordill

Journal of Materials Research 36, 2154–2165 (2021)
DOI: 10.1557/s43578-021-00113-9


In nanoindentation, the hardness and modulus are inversely proportional to the contact area and the root of the contact area, respectively. This means that error in the contact area will result in a systematic error in the measured properties; improving the contact area determination for nanoindentation is essential to ensuring the reliability and repeatibility of results.

In this paper, Christian Saringer et al. investigated the applicability of utilizing the tip area function obtained with three different methods:

  1. Confocal laser scanning microscopy (CLSM);
  2. Aatomic force microscopy (AFM); and
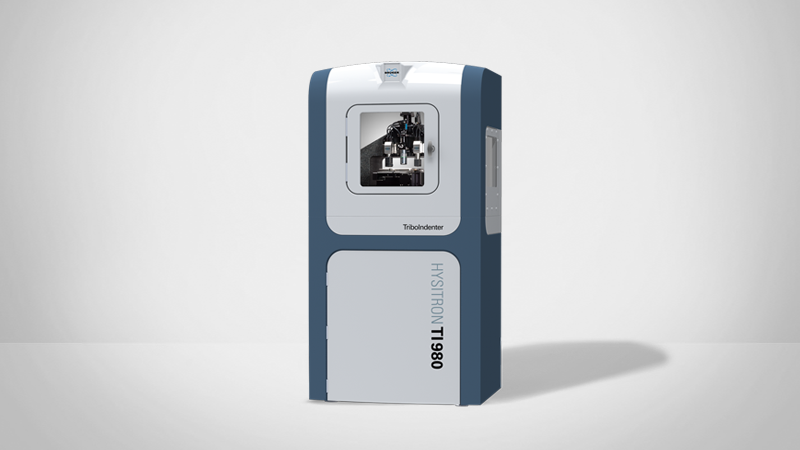
  3. Self-imaging by scanning a sharp silicon tip (using the scanning probe microscopy function on a Hysitron TI 950 TriboIndenter).

To make the comparison of the three techniques systematic, a Python script-based method is presented, which allows for fitting of the 3D datasets.

Their conclusions showed that the self-imaging using the TI 950 SPM function gave the best result, matching well with the Hertzian contact model. The low-resolution CLSM measurement, AFM, gave similar results, but did not match as well to the Hertzian fit.


If you have any questions about Bruker-Hysitron TI family TriboIndenters or any of our other nanomechanical testing solutions, please contact us.

SUBJECT(S):

  •  Improving the contact area determination for nanoindentation


FEATURED BRUKER TECHNOLOGY:


KEY FINDINGS:

  • The objectively best result, which exhibited the closest match to the Hertzian contact model, was self-imaging using the TI 950 SPM function


KEY TERMS:

Contact Area Determination, Hertzian Contact Model, Nanoindentation, Scanning Probe Microscopy


RELATED ARTICLES: