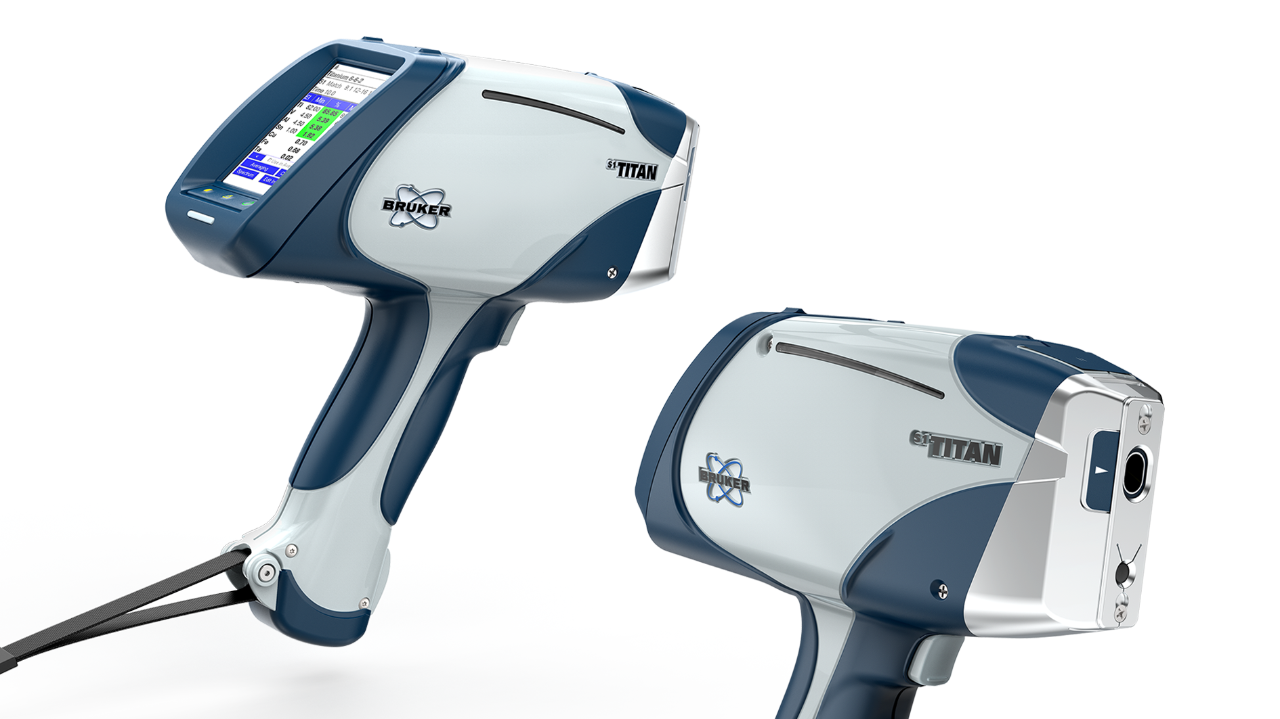
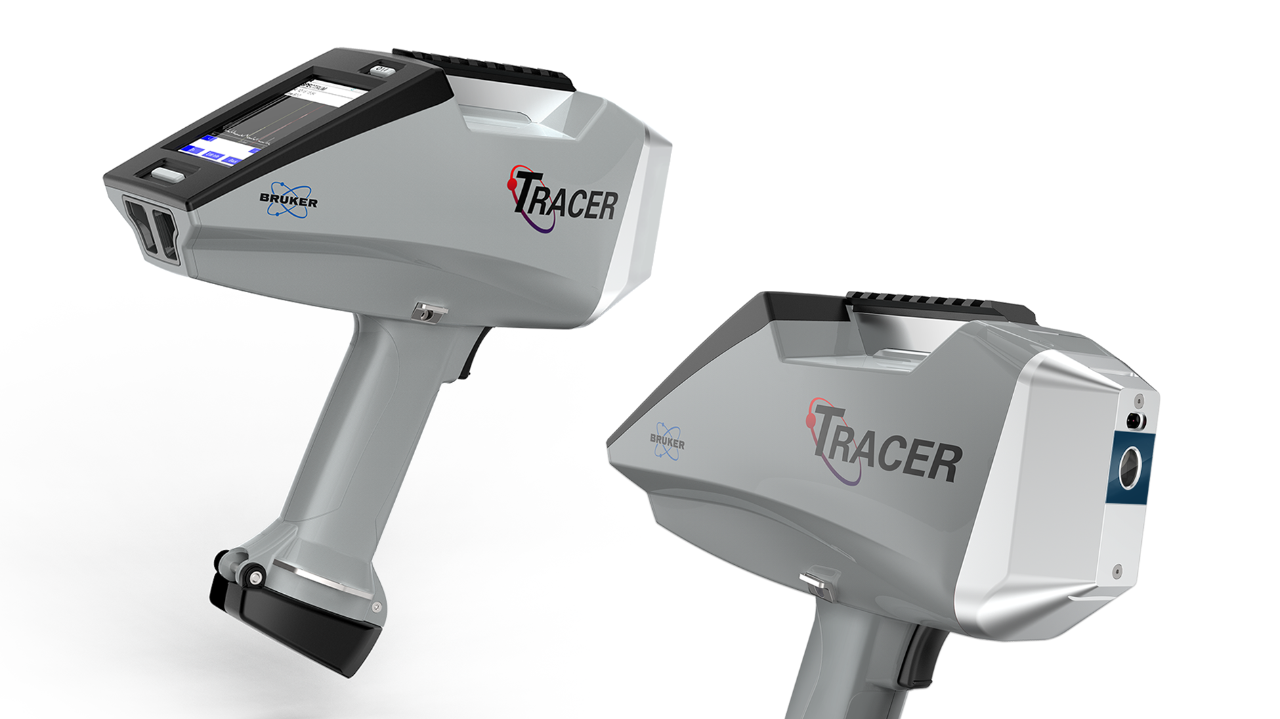
If you’re still not getting a good result, turn off the analyzer and inspect the nose of the instrument. Make sure the thin window is intact and hasn’t been smudged or damaged. If the window is torn, punctured, or dirty, refer to your user manual for how to swap it out for a new one (several were shipped in the case with your instrument). Once the window is replaced, try the test again.
If you’re using a mining sample (soil or powder in a cup), it’s important to understand that even though the material has been finely ground, it can never be completely uniform. Soil samples will have a greater variance from one reading to the next due to grain size within the cup. Also, each grain has multiple sides that cause the X-rays to go off in various directions. Because the sample is inherently NOT uniform, each reading will have slight variations. To get the best result, each assay should be taken from a different position to get an average sample reading.
Humidity and elevation can also adversely affect your instrument’s accuracy. Even if you place the nose of the analyzer directly against a sample, there is a small distance between it and the working pieces (X-ray tube and detector). Higher humidity causes the atmosphere to become denser, and so the electrons must travel through more and heavier material, weakening the X-ray beam and blocking the discharged photons from reaching the detector. Elevation can work in the opposite fashion. In each case, since your analyzer has been factory calibrated, there may be slight variations during actual use in the field.
What about your samples? Can the samples themselves be causing errors in your readings? This could be an issue depending on the quality of your sample. Let’s look at soil samples and alloy samples to minimize uncertainty that your samples are causing your suspected errors:
Soil Samples:
There are 3 basic ways to analyze soil samples.
- In-situ
- Semi-prepared
- Fully prepared
In-situ:
When taking samples in-situ the only real concern would be to make certain you are not analyzing moist soil. Moisture can affect your XRF readings. If there is more than twenty percent moisture in your sample, it will have an adverse effect on your reading. You should choose to either dry all of your samples, or take a series of wet samples (10 or so), analyze them while they are wet, then dry them and analyze them again. You can create a fudge factor for moist samples based on the difference. This should be done for each site if you choose this route and the level of moisture in the wet samples need to be consistent in order to obtain quality data.
Semi-prepared:
This can refer to any number of steps taken to make your sample more homogeneous-whether you sieve the sample through a 60 mesh sieve and analyze it in a plastic bag or simply put soil in a plastic bag and remove all the sticks, rocks, and big chunks out of it before analyzing it. The most important concern with this type of sampling is to make certain you have enough soil to obtain accurate results. In order for XRF results to be accurate, you need to have at least ¾ of an inch thickness of sample when analyzing through a plastic bag. This is due to the fact that handheld XRF analyzers are calibrated to infinite thickness. Also, be sure to use the cheaper plastic bags, or at least not the freezer bags which are thicker and can attenuate x-Rays returning to the detector.
Fully prepared:
Analyzing fully prepared samples typically refers to the process of pushing the soil through a set of sieves to get the particle size of the soil to be as homogeneous as possible then loading the soil into an XRF cup for analysis. With this technique you still need to be concerned about having the appropriate amount of sample in your XRF cup due to the infinite thickness calibration. Another area of concern that can affect your data outcome is the type of X-ray film you use for your XRF cup. There are 2 basic types of X-ray film used: mylar and polypropylene. If you are trying to analyze lighter elements such as Sulpher (S) and Phosphorous (P), you want to make certain you use the polypropylene X-ray film so as not to attenuate those returning X-rays on their way to the detector.
Alloy Samples:
With alloy samples, you want to make certain that any corrosion or debris has been removed (at least an area large enough for the entire aperture of the window of the XRF can be exposed to the area of clean sample). You may be able to use a rag to clean off samples that are merely greasy but if you have built up corrosion, you will need to either sand it off with diamond paper or use a rotary tool of some sort. Even with a rotary tool you need to be sure to know what the wire brush is made out of. If some of the brush ends up in your sample, you could end up identifying the wrong alloy. Be sure to clean the sample off after grinding or sanding it. This is also true of sandpaper and abrasive disks- the abrasive material can be forced into the surface of the sample and alter your reading. Make sure that the abrasive material does not contain some element, such as silicon (Si), that could give you misleading readings.
Still not getting a good reading? Make sure you’ve set your instrument to the correct assay type. If you are using the Stainless 2205 sample for your test, but you’ve set the instrument to analyze mining samples, you’ll get poor results. Check your user guide to ensure you’re using the optimum settings.
If you still are not getting accurate results, it’s time to call the Bruker help line: 509-783-9850. The Bruker support team will be able to answer your questions and walk you through expert troubleshooting and resolution of your issue. Or contact us here to describe any issues and receive expert help!