Light-Sheet Imaging of Cleared Samples
Gain New Insights into Complex Biological Systems
Tissue clearing enables researchers to image large, normally opaque biological samples in three dimensions, delivering otherwise inaccessible structural information. By combining advanced tissue clearing techniques with light-sheet fluorescence microscopy, scientists can generate detailed volumetric datasets from whole organs and large tissue specimens while preserving the biological context.
While light-sheet imaging of cleared tissue provides very relevant insights, implementing and scaling these workflows can be challenging, introducing variability, complexity, and artifacts.
Bruker's integrated solutions lower technical barriers to light-sheet imaging of cleared tissue, enabling researchers to:
- Generate consistent scientific results with reliable, reproducible tissue clearing workflows
- Capture high-resolution 3D views of large biological specimens
- Preserve tissue organization/spatial relationships in intact specimens by avoiding physical sectioning
- Transform complex image data into 3D visualizations through streamlined reconstruction workflows
- Manage and process large volumetric datasets with high-capacity storage combined with scalable computing power
TABLE OF CONTENTS:
LEARN MORE ABOUT THESE APPLICATIONS:
AT-A-GLANCE
The combination of tissue clearing techniques with light-sheet fluorescence microscopy (LSFM) to enable imaging of intact biological samples in three dimensions. Tissue clearing modifies the optical properties of scattering and absorbing opaque samples to render them transparent while keeping their three-dimensional structure intact, allowing researchers to generate detailed volumetric datasets from whole tissues, organs, and other large biological specimens while preserving critical biological context. Once cleared, samples can be imaged many millimeters deep, enabling visualization of whole tissues, organs, and even organisms.
LEARN MORE: See image gallery/case studies and related tissue clearing resources
Cleared sample imaging workflows combine tissue clearing, light-sheet imaging, image reconstruction, and data management into a unified workflow.
- The process begins by rendering biological specimens optically transparent using tissue clearing techniques that reduce light scattering while preserving the sample's three-dimensional structure.
- Once cleared, samples are imaged with light-sheet fluorescence microscopy, which enables rapid, gentle imaging of intact biological specimens and the generation of detailed volumetric datasets.
- The acquired image data can then be reconstructed into three-dimensional visualizations and transformed into analysis-ready datasets that support visualization, exploration, and analysis of whole tissues, organs, and other large biological specimens.
Light-sheet imaging of cleared samples is used in neuroscience research, spatial biology, developmental biology, oncology, and drug discovery. Researchers aim at visualizing intact tissues and organs, map biological networks, characterize tissue architecture, and generate whole-organ datasets while preserving critical biological context.
Once tissue has been cleared, light can travel through a specimen with significantly reduced scattering, making these samples well suited for imaging with light-sheet fluorescence microscopy. Typically, cleared samples have a size of several millimeters and beyond, so that imaging them in 3D with high-resolution can be very time-consuming. LSFM enables rapid, gentle imaging of entire biological specimens while generating detailed volumetric datasets across large sample volumes. Together, tissue clearing and light-sheet microscopy provide the depth, scale, and resolution needed to generate detailed volumetric datasets from intact tissues, organs, and organisms while preserving biological context.
LEARN MORE: See how shared facilities use light-sheet microscopy and tissue clearing
Important considerations include imageable sample size and mounting requirements, the 3D resolution needed, and optical and chemical compatibility with refractive index-matching media.
Because successful light-sheet imaging of cleared samples extends beyond image acquisition alone, researchers should also consider tissue-clearing workflows, image processing capabilities, and data management requirements. Solutions designed to support the entire workflow can help improve reproducibility and streamline the path from sample preparation to analysis-ready datasets.
LEARN MORE: See Bruker's integrated solutions for imaging cleared tissues


Core Technologies for Imaging Cleared Samples
Generating high-quality 3D datasets requires interconnected sample preparation, image acquisition, and data handling workflows. Each plays a critical role in producing reliable, analysis-ready results:
- Sample preparation workflows — including tissue clearing, fluorescent labeling, and sample mounting — render specimens optically transparent and highlight structures of interest.
- Light-sheet microscopes illuminate one optical section at a time to rapidly generate detailed volumetric datasets while preserving the spatial relationships and anatomical context of cells, tissues, and biological networks.
- Image processing software and data management systems transform raw image data into analysis-ready datasets that can be reconstructed, visualized, managed, and explored in three dimensions.
Bruker supports these key activities through integrated solutions:

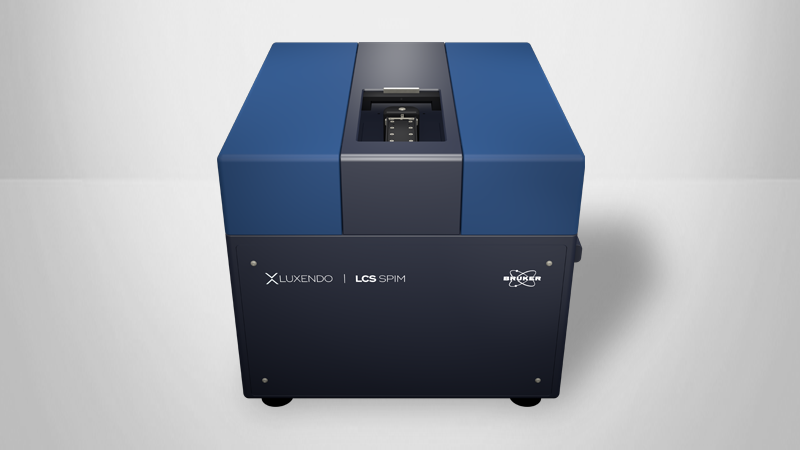
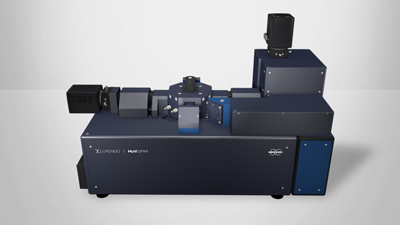
Bruker's integrated tissue clearing and imaging environment combines validated tissue-clearing chemistry (Universal Clearing Kit), high-performance light-sheet imaging, image reconstruction (MuVi SPIM and LCS SPIM systems, LuxBundle Software), and scalable data management (Acquifer HIVE) to help researchers generate consistent, analysis-ready datasets. By providing clear guidance and connecting these workflows, Bruker’s workflow solution helps lower the technical barrier to whole-organ imaging while maintaining the quality required for quantitative, systems-level analysis.
Expand the accordion sections below to learn how:

Developed by Translucence Biosystems, the Universal Tissue Clearing Kit enables reliable and reproducible tissue clearing across a broad range of biological samples, including brain, spinal cord, liver, lung, kidney, heart, eye, adipose tissue, and organoids. Based on a modified iDISCO-derived protocol, the kit preserves molecular signals for downstream imaging and analysis while supporting user-defined antibody labeling workflows.
Designed for easy accessibility, the workflow requires no specialized tissue-clearing equipment and can be implemented in standard laboratory environments. Detailed protocols and workflow guidance help reduce variability and simplify the adoption of advanced three-dimensional histology techniques.
The Universal Tissue Clearing Kit is ideal for researchers seeking to:
- Implement tissue clearing using a validated, easy-to-follow workflow
- Reduce protocol guesswork through established workflow guidance
- Generate reliable, reproducible whole-organ 3D datasets
- Preserve molecular targets for downstream immunolabeling and analysis

Once samples have been cleared, Bruker's light-sheet microscopes enable rapid, gentle imaging of intact biological specimens. The MuVi SPIM and LCS SPIM systems support imaging across scales — from cellular structures to entire organs and organisms — while minimizing photobleaching and phototoxicity.
Optimized for large, optically transparent samples, these systems capture detailed volumetric datasets that preserve biological context and support downstream quantitative analysis. By combining tissue clearing with light-sheet microscopy, researchers can visualize structures deep within intact specimens while maintaining their native three-dimensional organization.

Large-scale cleared tissue experiments can generate massive amounts of image datasets that require robust, efficient handling and computational processing.
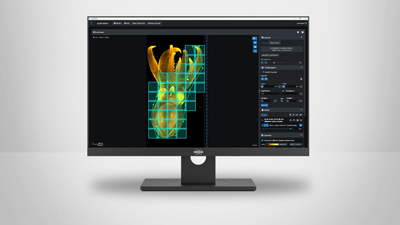
Within the LuxBundle software, LuxProcessor supports registration, fusion, stitching, and reconstruction of large multi-view multi-tile datasets. By transforming raw image data into high-quality volumetric representations, LuxProcessor streamlines the path from acquisition to visualization and analysis.

As experiments increase in size and complexity, efficient data handling becomes increasingly important.
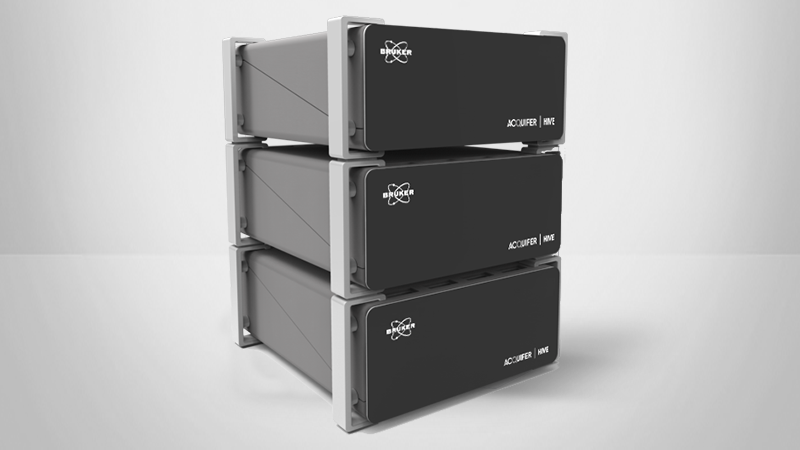
Acquifer HIVE provides centralized storage, data management, and computing resources for large volumetric imaging datasets. Designed to support modern imaging workflows without requiring dedicated IT expertise, HIVE enables efficient processing, organization, and sharing of terabyte-scale datasets.
How Scientists Are Using Light-Sheet Imaging of Cleared Tissues
From mapping neuronal networks across entire mouse brains to visualizing developing nerves in intact embryos, imaging of cleared samples enables researchers to study complex biological systems at unprecedented scale and resolution. The examples below highlight how researchers can study cells, tissues, and biological networks within their full anatomical context across large specimen volumes.
For a deeper look at these and other use-cases, you can see our most popular resources related to light-sheet imaging of cleared samples here.
Mouse brain cleared with the Universal Tissue Clearing Kit
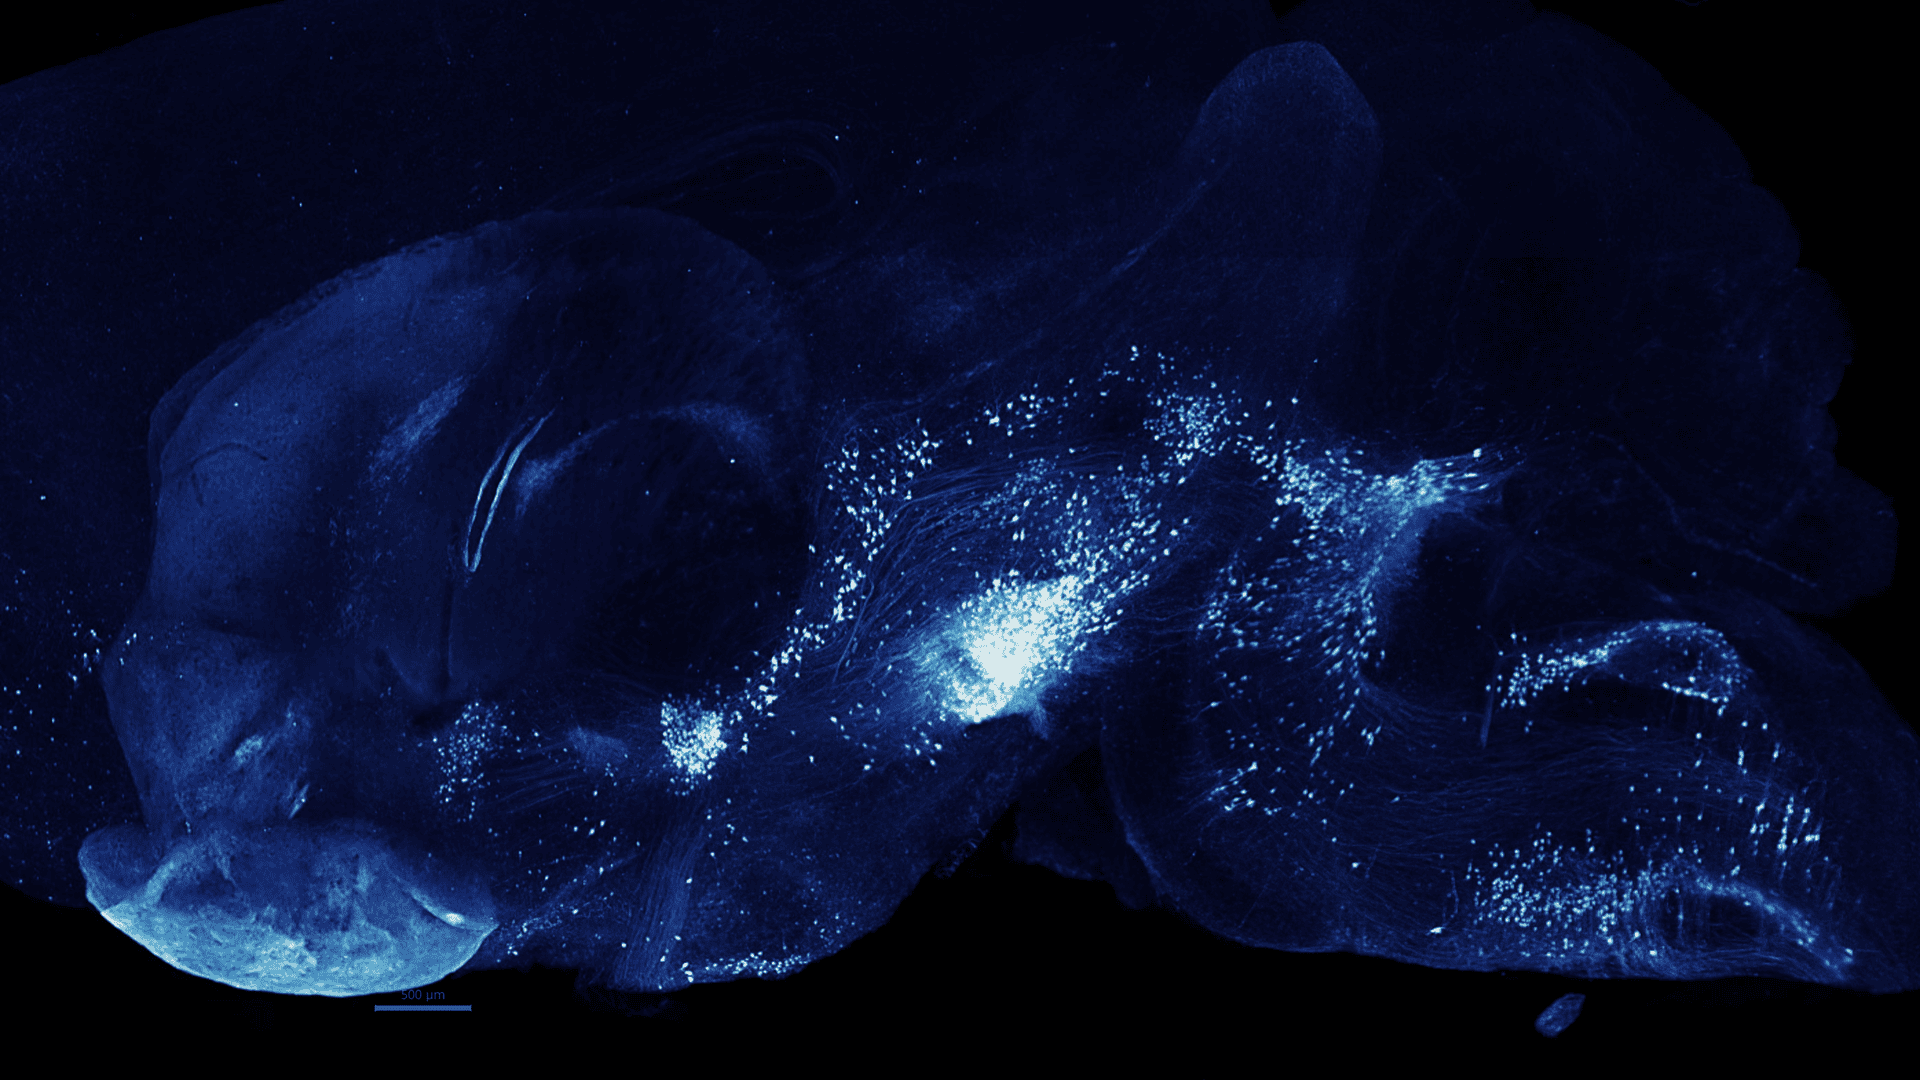
In this example, a mouse brain cleared with the Universal Tissue Clearing Kit and labeled for tyrosine hydroxylase is shown in four views of the same sample at progressively higher magnification and higher resolution.
Presenting the dataset across multiple scales allows researchers to examine the overall organization of the sample while also exploring finer details within specific regions of interest.
The Universal Tissue Clearing Kit, Bruker's light-sheet microscopes, and the Acquifer HIVE centralized data storage and computing solution are complementary technologies that support sample preparation, imaging, and data processing within a unified workflow. Together, these technologies support the generation and management of high-quality 3D datasets while helping researchers align each stage of the cleared tissue imaging process.
Figure 1: Tyrosine Hydroxylase (TH) stained brain, cleared with Universal Tissue Clearing Kit. Imaged with the Bruker Luxendo LCS SPIM.

Mouse brain cleared with the Universal Tissue Clearing Kit

In this example, a cleared mouse brain labeled for tyrosine hydroxylase is shown at multiple scales, including a maximum intensity projection of the image stack, a corresponding single optical slice, and a magnified view of a selected region of interest.
Together, these visualizations illustrate how cleared tissue imaging can support the exploration of large three-dimensional datasets while maintaining access to individual image planes and higher-magnification views. This multi-scale approach allows features of interest to be viewed within the context of the broader sample while also highlighting localized details.
Figure 2: Mouse brain cleared with the Universal Tissue Clearing Kit, IF labeling of tyrosine hydroxylase. Shown as a maximum intensity projection (MIP) of the image stack (top), a single optical slice at the same view and magnification (middle), and a magnified view of a selected region of interest (bottom). Imaged with the Bruker Luxendo MuVi SPIM, 20X CS objective.
Visualizing Microglia in a Mouse Brain
In this example, microglia within a cleared mouse brain are visualized using a 20× tiled acquisition on the Bruker Luxendo MuVi SPIM. Combining tissue clearing with high-resolution light-sheet imaging enables researchers to capture large three-dimensional datasets while maintaining detailed visualization of cellular features throughout the sample.
Figure 3: Mouse brain cleared with the Universal Tissue Clearing Kit. Imaged with the Bruker Luxendo MuVi SPIM, 20X tiled acquisition, Nikon 20X 1.0NA objective.

Visualizing the Complete Neuronal Network of a Whole Cleared Brain

In this example, pyramidal neurons are imaged throughout a whole cleared mouse brain, allowing these cells to be visualized within the global context of the entire organ. By combining tissue clearing with light-sheet fluorescence microscopy, researchers can generate high-resolution datasets from large specimens that exceed the microscope's field of view through tiling and stitching.
This approach supports the study of neural architecture within the context of the entire brain, providing insights that are difficult to obtain using conventional section-based imaging.
Figure 4a: Overview of an entire mouse brain (anterior-posterior axis horizontally, dorsal-ventral axis vertically). Scalebar: 1000 μm.
Figure 4b: The achieved isotropic resolution of pyramidal neurons. Scalebar: 50 μm.
Courtesy of: Dan Zhang, Ph.D., Core Facility of Center of Biomedical Analysis at Tsinghua University, Beijing, China.
Three-Dimensional Spatial Visualization of Neuronal Structures
In this example, GFP-labeled neurons within a CUBIC-cleared brain are visualized, allowing individual neuronal structures, including axons and dendrites, to be imaged and traced within the surrounding tissue. The image is displayed as a maximum-intensity projection with color coding based on depth, with warmer colors representing structures nearer the top of the image and cooler colors representing structures deeper within the sample.
This visualization highlights how three-dimensional spatial information can be preserved and interpreted within a single projected image.
Figure 5: Neuronal network (stained with GFP) of a cleared mouse brain. Color-coded depth representation: maximal depth displayed 1.23 mm. Imaged with the MuVi SPIM.
Courtesy of: Montserrat Coll Lladó, European Molecular Biology Laboratory (EMBL), Barcelona, Spain

Whole-Embryo Imaging (Developing Peripheral Nerve Networks)

In this example, developing nerves are visualized throughout an intact mouse embryo, providing a three-dimensional view of nervous system formation across the entire organism. By combining whole-embryo clearing with fluorescent labeling, researchers can visualize neural structures in their native anatomical context rather than relying on individual tissue sections. Preserving this spatial context provides valuable insights into nervous system formation and connectivity during embryonic development.
Viewing these processes within the intact embryo helps reveal relationships and patterns that may not be apparent when tissues are studied in isolation.
Figure 6: Developing nerves in a whole mouse embryo. Tiled image (3 x 4) acquisition. Scalebars: 1 mm. Imaged with the LCS SPIM.
Courtesy of: James Muller, MSKCC, New York, USA.
Whole Organ Imaging (Geometric Patterning of Tissues)
In this example, the intricate branching patterns of mouse lungs and blood vessels are visualized throughout an intact organ, revealing their three-dimensional organization. By combining tissue clearing with light-sheet imaging, researchers can examine tissues and organs in their entirety and gain in-depth insights into their geometric patterning.
Viewing these structures within the context of the entire organ provides a more complete understanding of how tissues and vascular networks are organized.
Figure 7: Light-sheet images of a lung taken with the LCS SPIM.
Courtesy of: Ayelen Melina, Santamans Recchini, and Gaudalupe Sabio Buzo, Stress kinases in Diabetes, Cancer and Cardiovascular Disease Laboratory and Unit of Microscopy and Dynamic Imaging, Centro Nacional de Investigaciones Cardiovasculares Carlos III (CNIC), Madrid.

Large-Volume Imaging of Developing Neurons and Muscles

In this example, developing nerves and differentiating muscles are visualized throughout a cleared mouse head, revealing their organization within a large, intact specimen. By combining fluorescent labeling with tiled light-sheet imaging, researchers can capture high-resolution datasets across fields of view that extend beyond the size of a single image acquisition. This enables large anatomical structures to be imaged in their entirety while preserving fine structural detail.
Examining these tissues within an intact three-dimensional volume helps researchers interpret complex anatomical relationships that can be difficult to reconstruct from individual tissue sections.
Figure 8: Cleared mouse head, labeled with anti-tuj1 (green) to mark developing nerves and with anti-desmin (red) to mark differentiating muscles. Tiled image (6 × 5). Imaged with the MuVi SPIM.
Courtesy of: Glenda Comai, Institut Pasteur, Paris, France
Whole-Tissue Imaging (Three-Dimensional Lymph Node Reconstruction)
In this example, a cleared mouse lymph node is reconstructed in three dimensions using Bruker's cleared sample imaging workflow. By combining tissue clearing with light-sheet fluorescence microscopy, researchers can image intact biological specimens and generate detailed volumetric datasets while preserving critical biological context. The resulting reconstruction demonstrates how large tissue volumes can be visualized in their entirety and explored within a three-dimensional framework.
Preserving the complete tissue architecture enables researchers to examine spatial relationships throughout the entire lymph node, supporting studies of lymphoid organization, vascular architecture, and tissue remodeling in health and disease.
Figure 9a: Cleared mouse lymph node. High endothelial venules (642 nm, red) and autofluorescence (488 nm, green) to visualize surrounding tissue. Imaged with the MuVi SPIM.
Figure 9b: BABB-cleared mouse lymph node. High endothelial venules (red) and autofluorescence (green) to visualize surrounding tissue.
Courtesy of: Jens Stein, University of Bern, Bern, Switzerland
Solutions for Light-Sheet Imaging of Cleared Samples
Based on cleared sample imaging workflows and needs, we recommend that interested users start by exploring the systems highlighted below.